Drawing your best friend can feel like a big challenge, especially if you’re new to it. But think about it—what better way to celebrate your friendship than by capturing it in a drawing? I get it, though.
The idea of putting pencil to paper and creating a likeness of someone you care about can be daunting.
I promise, this guide will make it simple. We’ll break it down into easy steps, from basic shapes to adding those personal touches that make the drawing uniquely yours. By the end, you’ll have a beautiful and personal tekenen meiden bff that you can be proud of.
Trust me, you’ve got this.
Gathering Your Tools and Inspiration
Start with a few pencils. I like an HB for sketching and a 2B for darker lines. Don’t forget a quality eraser and some plain paper or a sketchbook.
Colored pencils, markers, or fine-liner pens for inking can add color or definition. They’re optional but fun to play with.
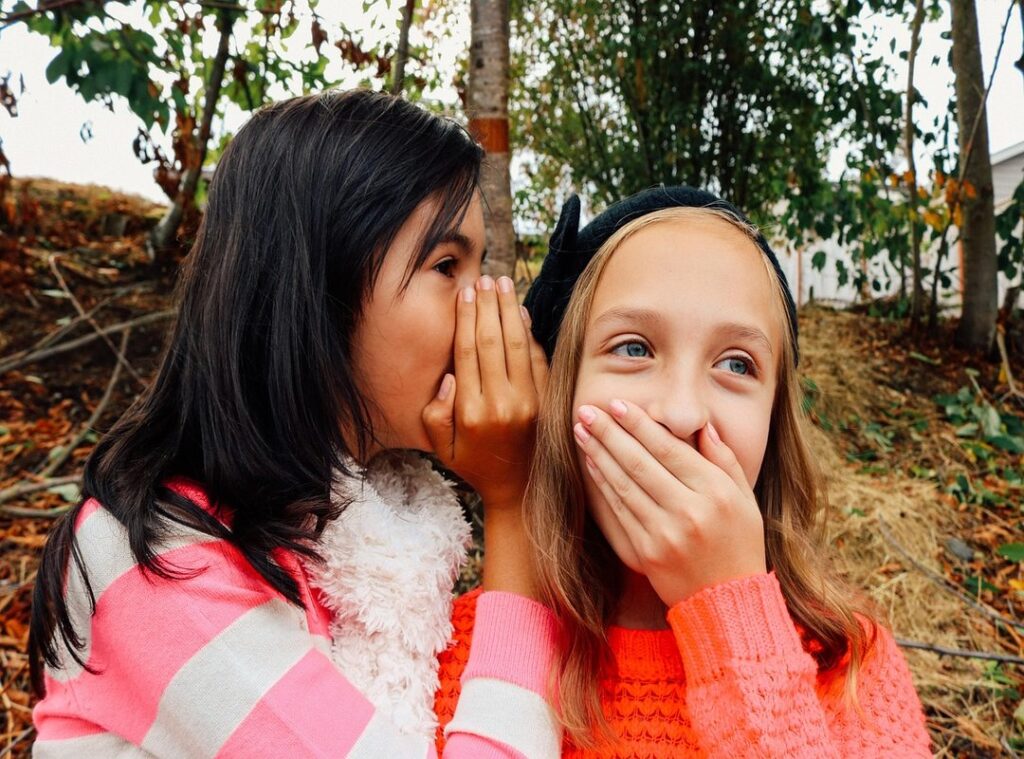
Finding inspiration is key. Think about a favorite shared memory, an inside joke, or a classic BFF pose. Hugging, holding hands, or sitting back-to-back are always great options.
I once drew a tekenen meiden bff based on a photo of my best friend and me at a concert. It was a hit! Reference photos can help with poses and proportions, but make sure to add your own unique style and personal touches.
Before diving into the final piece, try a thumbnail sketch. Create a few small, quick drawings to plan the composition. This step can save you a lot of time and frustration later.
Step 1: Building the Foundation with Basic Shapes
When I first started drawing, a friend told me, “It’s all about breaking it down into simple shapes.” That advice stuck with me.
Let’s start with the heads, and lightly sketch two ovals. Place them close together to show a connection.
This is especially important if you’re drawing tekenen meiden bff.
Next, draw the torsos using simple rectangles or ovals. Connect them to the heads with lines for necks. It’s like building a house—start with the foundation.
Now, let’s create a ‘stick-figure’ skeleton for the arms and legs. Use lines and circles. Focus on getting the pose right before adding details.
Here’s a key tip: make sure the poses are interactive. For example, have one arm wrapping around the other friend’s shoulder or have their legs crossed while sitting together. This adds life to your drawing.
| Step | Action |
|---|---|
| 1 | Sketch two ovals for the heads |
| 2 | Draw torsos with rectangles or ovals |
| 3 | Create a stick-figure skeleton for arms and legs |
| 4 | Make the poses interactive |
By following these steps, you’ll have a solid base to build on. Trust me, it makes a huge difference.
Step 2: Bringing Your Characters to Life with Faces and Hair
I remember the first time I tried to draw my best friend. It was a disaster. Her eyes were too far apart, and her hair looked like a bird’s nest.
But with a bit of practice, I got it right.
Start by adding simple guidelines on the face. Draw a horizontal line for the eyes and a vertical line for the nose and mouth. This ensures everything is in the right place. tekenen meiden bff
tekenen meiden bff can be a lot of fun once you get the basics down.
Now, let’s talk expressions. A wide smile, a happy wink, or a laughing face can really bring out the joy of friendship. Try drawing these different expressions to see which one fits your character best.
Mini-Guide to Drawing Popular Hairstyles
Let’s dive into some hairstyles. Long and flowing, a cute ponytail, and short and wavy are three popular choices. Match them to your own and your friend’s hair to make it personal.
Long and flowing: Start with a center part and draw long, wavy lines. Add a few loose strands for a natural look.
Cute ponytail: Draw a high or low ponytail. Add a small bow or a scrunchie for a touch of style.
Short and wavy: Use short, wavy lines to create a textured, layered look. This is great for a more playful character.
Making each character distinct is key. Use different hairstyles, eye shapes, or expressions to reflect individual personalities.
Add simple facial details like eyebrows, and they can dramatically change the expression. A small curve for the nose also adds a lot of character.
Drawing your BFFs can be a blast. Just keep practicing, and soon you’ll have a whole cast of characters that look just like the real thing.
Step 3: Defining the Look with Clothes and Final Details

Alright, you’ve got your basic shapes down, and now, let’s dress them up.
- Start with simple outfits like t-shirts, jeans, sweaters, or skirts.
- Add details that highlight the friendship theme, like matching friendship bracelets, similar patterns on their shirts, or their favorite band logo.
Drawing hands can be a bit tricky, but I’ve got a trick for you. First, draw a mitten shape, and then, add lines for the fingers.
This works especially well for poses like holding hands or making a peace sign.
Once you’re happy with the clothes and details, it’s time to clean things up. Go over the final lines with a darker pencil or a pen, making them clean and confident.
Wait for any ink to dry completely. Then, use a good eraser to clean up all the initial light pencil sketches and guidelines.
And there you have it—your tekenen meiden bff artwork is complete!
Your Friendship, Captured in a Work of Art
Congratulations on completing your tekenen meiden bff drawing! You’ve now learned a repeatable process. Remember, any complex drawing can be made easy by breaking it down into simple shapes and adding details step by step.
Embrace your unique style and don’t worry about perfection. The true value of your drawing comes from the meaning behind it. Now that you’ve finished, sign your artwork, share it with your best friend, and try drawing another favorite memory together!
 Barbarana Wilkinstucks is the kind of writer who genuinely cannot publish something without checking it twice. Maybe three times. They came to nummazaki flavor foundations through years of hands-on work rather than theory, which means the things they writes about — Nummazaki Flavor Foundations, Recipe Adaptation Ideas, Global Taste Explorations, among other areas — are things they has actually tested, questioned, and revised opinions on more than once.
That shows in the work. Barbarana's pieces tend to go a level deeper than most. Not in a way that becomes unreadable, but in a way that makes you realize you'd been missing something important. They has a habit of finding the detail that everybody else glosses over and making it the center of the story — which sounds simple, but takes a rare combination of curiosity and patience to pull off consistently. The writing never feels rushed. It feels like someone who sat with the subject long enough to actually understand it.
Outside of specific topics, what Barbarana cares about most is whether the reader walks away with something useful. Not impressed. Not entertained. Useful. That's a harder bar to clear than it sounds, and they clears it more often than not — which is why readers tend to remember Barbarana's articles long after they've forgotten the headline.
Barbarana Wilkinstucks is the kind of writer who genuinely cannot publish something without checking it twice. Maybe three times. They came to nummazaki flavor foundations through years of hands-on work rather than theory, which means the things they writes about — Nummazaki Flavor Foundations, Recipe Adaptation Ideas, Global Taste Explorations, among other areas — are things they has actually tested, questioned, and revised opinions on more than once.
That shows in the work. Barbarana's pieces tend to go a level deeper than most. Not in a way that becomes unreadable, but in a way that makes you realize you'd been missing something important. They has a habit of finding the detail that everybody else glosses over and making it the center of the story — which sounds simple, but takes a rare combination of curiosity and patience to pull off consistently. The writing never feels rushed. It feels like someone who sat with the subject long enough to actually understand it.
Outside of specific topics, what Barbarana cares about most is whether the reader walks away with something useful. Not impressed. Not entertained. Useful. That's a harder bar to clear than it sounds, and they clears it more often than not — which is why readers tend to remember Barbarana's articles long after they've forgotten the headline.